
Quickstart — sell your first course with MJX Learn
Sign up, create a course, add topics, set a price, get verified to be paid and share your course link — step by step.
This quickstart takes you from a new account to a course that anybody can buy from a link. In Pathshala, the course tools are under Apps › MJX Learn; the app is MJX Learn.
#Create your account
Open Start 14-day free trial. MJX Fees Management and MJX LMS are already ticked.
- Under What Best Describes Your Business? pick Coaching, Tuition, School, College or Institute. This sets the words the product uses (a tuition class sees "Class", "Subject", "Book" and "Student" in the app).
- Fill in your institute's name, Your Portal URL, PIN code, City and State.
- Under Your Details (Owner / Principal) enter Your Name, Phone Number (WhatsApp), Email and Password.
- Press Create and Get Portal.
You can also start in the app: open MJX Learn, tap Create My Institute, and fill in What are you?, Institute name, Institute code (your students type this to join you), your name, mobile number, email, city, state and password, then tap Create institute.
#Create your first course
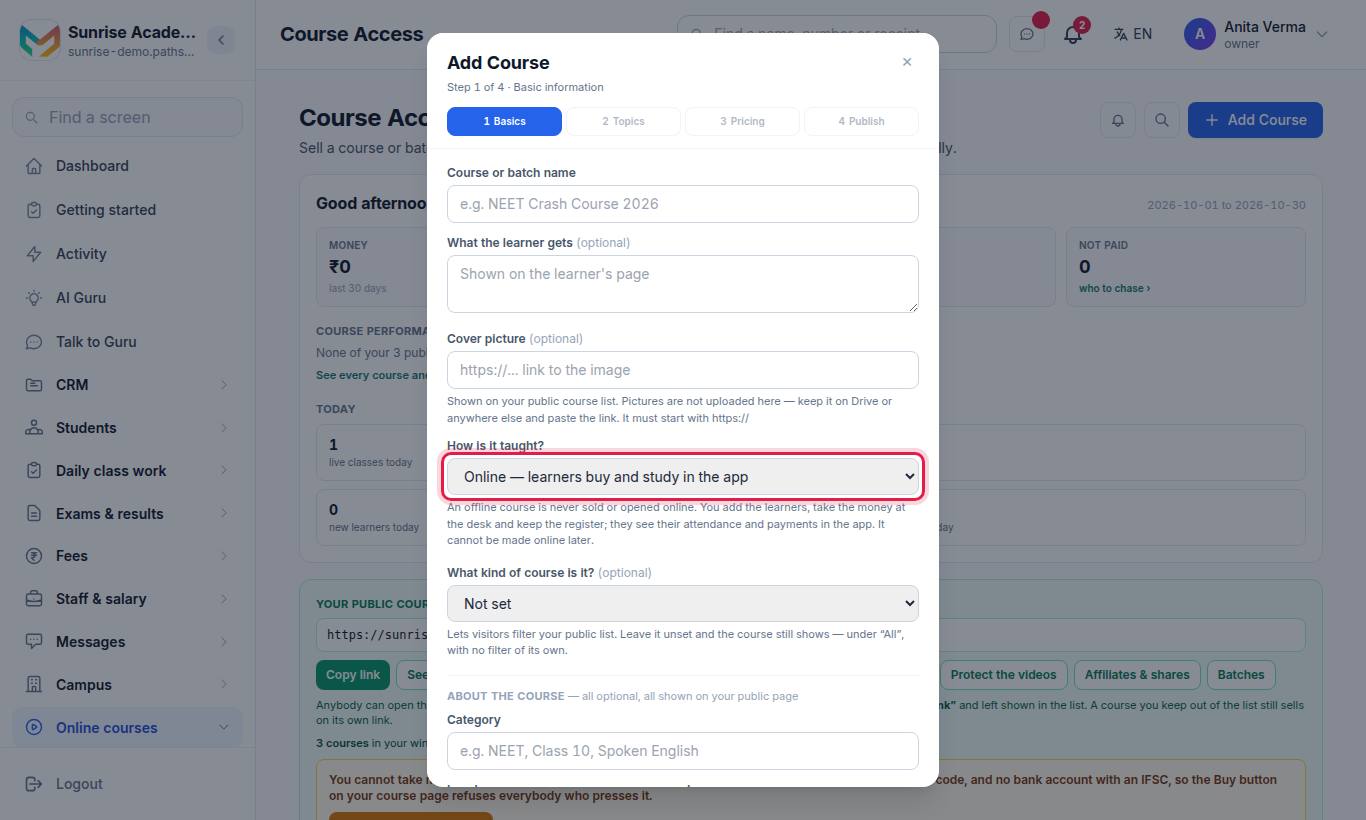
- Type the Course or batch name, e.g. "NEET Crash Course 2026".
- Under How is it taught? choose Online — learners buy and study in the app.
- Optionally set What kind of course is it?, Category, Level, Language and Instructor.
- Press Next to go through the four steps: Basic information, Curriculum, Pricing and access, Check and publish.
#Add topics
On the Curriculum step press Open the curriculum editor, or later press Videos & access on the course card.
- Under Add a topic, choose what it is: Video (YouTube link), Video (upload a file), PDF link or Written topic.
- Type the Topic name and paste the link (or choose the video file).
- Tick Free sample — anyone can watch this topic for one short topic.
- Press Add topic.
See Create a course for chapters, books, notes, quizzes and day-by-day release.
#Set a price
On the Pricing and access step:
- Tick Sell this to anybody with the link.
- Type the Price for the public in ₹.
- Choose who pays the online fees under Fees on online sales: what the buyer pays.
- Leave Show it on my public course page ticked to list it on your course store.
- Press Create course.
#Get verified to be paid
Fill in Who is being paid, Where you are and Your bank account, tick the confirmation box and press Send my details. On the same page, verify your Aadhaar with DigiLocker or upload your papers. See Get paid.
#Share the link
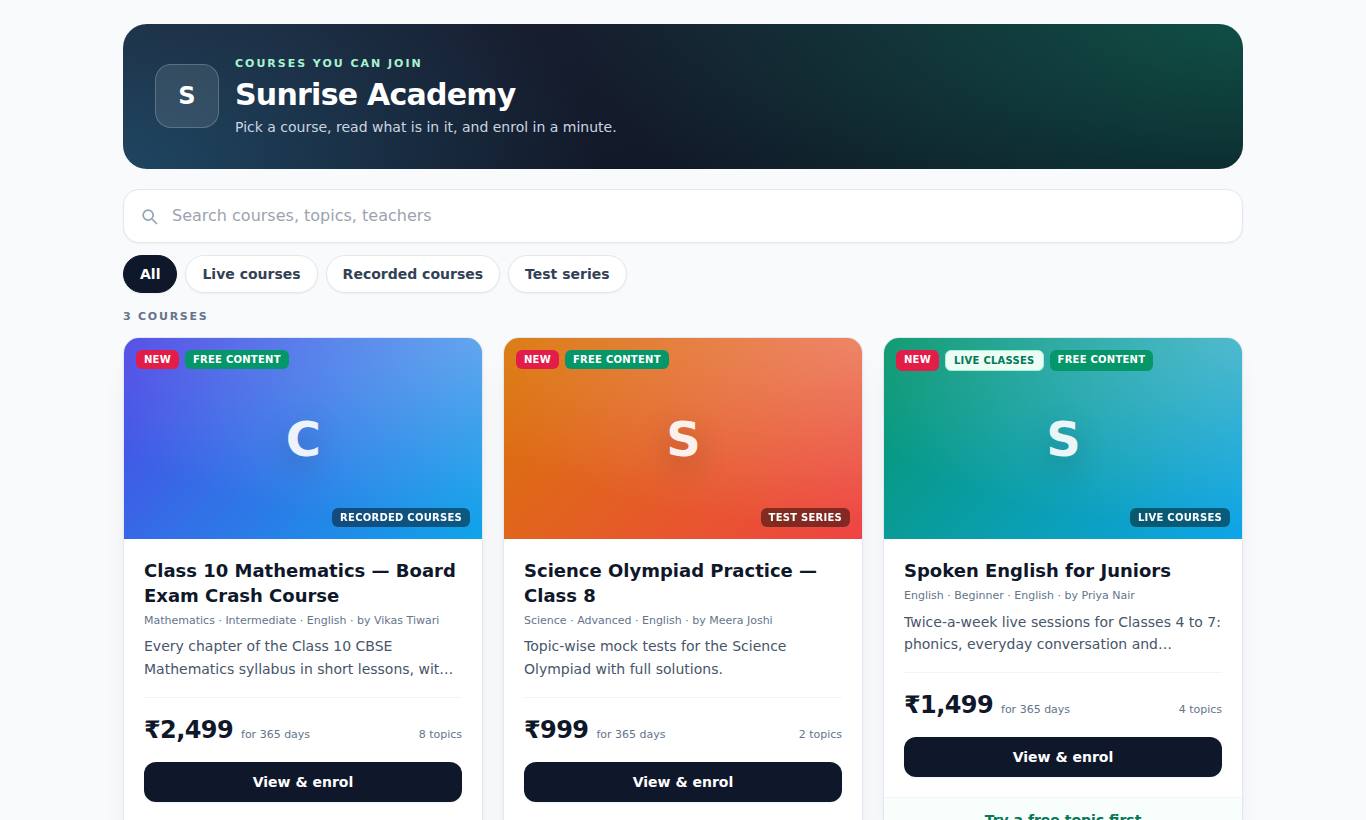
Open the course with Videos & access. Under On sale to the public press Copy link or Send on WhatsApp. Your whole store is at the top of the Courses page under Your public course page.
#What to do next
- Install the MJX Learn app and sign in as an educator.
- Put your name, logo and colour in the app — App look.
- Add your teachers and choose who answers doubts — Staff and roles.
- Schedule your first live class or mock test (Basic plan and up).
- Write your Terms & Privacy so learners see your own policies.
Stuck? WhatsApp 7996837555 or email info@mjxtechnologies.com.
#Questions people ask
How long does it take to put a course on sale?
Most owners have a first course with a few topics on sale in under 30 minutes. Bank verification by the payment provider can take a few days, but your sales go on in the meantime.
Do I need a card to sign up?
No. The 14-day free trial needs no card, and only the products you picked are switched on.
Can I do all of this from my phone?
Yes. Install the MJX Learn app, tap Create My Institute, and every step here has an app screen too.
What should the first topic be?
Make one short topic a Free sample. People who open your course page can watch it without paying, which helps them decide.